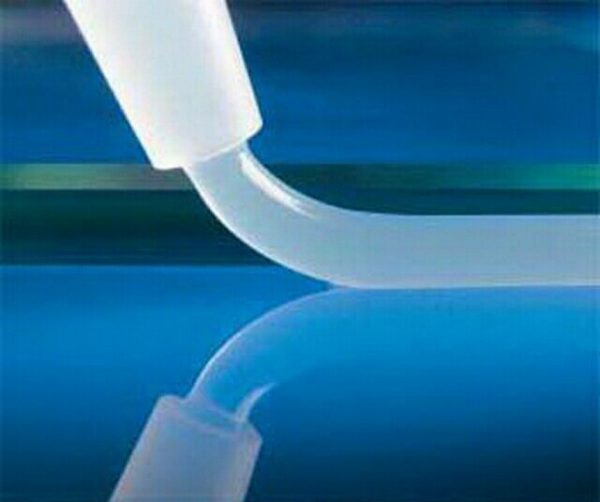
Making repairs on their own, many are afraid to treat the joints with sealant: it repels the viscous, quick-drying and able to stain the surface material. But working with him is not difficult at all, and the result is excellent.
- When silicone grout is required
- Necessary tools
- Apply masking tape
- Use detergent
- Apply a soap solution
- We form the inner corner
- We form the outer corner
- How to make a wall-floor sealant


When silicone grout is required
Each owner wants the kitchen and bathroom after repair to look aesthetically pleasing.
But even the most beautiful tiles and drywall will look bad if the seams between the individual segments look rough and messy.
In addition, drywall, even ideally adjacent to the wall, can crack at the junction. And in the bathroom and in the kitchen, it is necessary to protect the boundary between the sink and the wall from leakage.

Often, for the inner edges of the tiles use plastic corners or a joint (grout). But the corners do not fit tightly, and dirt accumulates under the moisture from them. And the edge overwritten by the crosslinking becomes cracked over time. Silicone grout in this case is the most reliable method.
to contents ↑Necessary tools
What you need to create a beautiful silicone seam:
- A gun for silicone or a tube (before starting work, cut its nose at an angle of 45 degrees. Make a hole a little larger in diameter than the width of the future seam).
- Tool for forming a seam and removing excess grout.
- Sponge or cloth.
- Capacity for soap solution or detergent, and if you chose the dry method - masking tape.
- Small unnecessary capacity for removed silicone residue.
As a tool, you can use:
- Special spatula.
- A plastic card with cut corners (the cuts should be slightly wider than the future seam).
- Stick with an oval edge (wooden, plastic, plexiglass).

Do not forget to prepare the working area - it must be cleaned of dirt and dust and degreased. Then choose one of three ways to make an even seam with sealant.
to contents ↑Apply masking tape
Glue a masking teip on both sides of the joint (masters recommend using Eurosel, Tesa) and apply silicone. This method is also called dry grouting, as the tile is not wetted. If you accidentally missed a section, you can add more grouts.

The advantage of the method is that the surface around the seam remains clean. This is the best option for beginners, as there is an opportunity to fix errors.
to contents ↑Use detergent
Usually used Fairy. Take a rag or sponge and apply detergent to the sides of the corner without wetting the seam. Then apply silicone. In this case, it will stick only to the seam, and not to the tile and drywall.
Apply a soap solution
Apply silicone with some excess, then moisten the corner and the tool with an ordinary solution of water and liquid soap (dilute as for soap bubbles). Clean up excess quickly. This is a quick, but requires some experience method. If not everything works the first time, then you will have to redo it, since the sealant will no longer lie on the wetted surface.

We form the inner corner
Squeeze the sealant evenly along the corner, then wet the surface with soapy water. We remove excess silicone. As it becomes dirty, we clean the tool by removing residues from the spatula in a suitable small container.
We form the outer corner
If the edge is too long, it is better to make it from special corners. Silicone is also suitable for short edges. Here we need a masking teip. Glue it 2-3 mm from the borders of the corner. Apply sealant, remove excess. In this case, the working area does not need to be wetted. We begin to remove the masking tape before the grout has not yet hardened.
to contents ↑
How to make a wall-floor sealant
The sequence of actions is important here. First, all vertical wall joints are treated with silicone. After they completely harden, we take up the silicone seam on the floor. Apply silicone along the corner, then wet with a soap solution and remove all unnecessary.
In the same way, an abutment wall-ceiling is formed, but for it the sealant is replaced with acrylic (later it can be painted).
As you can see, there is nothing complicated in making an even silicone seam. Start with the easiest way and everything will work out!