Stucco for the bathroom in its characteristics differs from solutions that can be used in dry rooms. Conventional building mixtures will not withstand constantly elevated humidity, temperature changes, and also are not able to hold onto a heavy finish. To choose a plaster you need to familiarize yourself with its types, properties and the best brands.
- Do I need to plaster the walls in the bathroom
- Plaster Material Requirements
- Types of plasters for the bathroom and their characteristics
- Cement plaster
- Gypsum plaster
- Silicone plaster
- Sanitizing compounds
- Facade plaster
- Decorative plasters
- The better to plaster the walls in the bathroom
- Under the tile
- For painting
- Waterproofing Compounds
- Stucco wall alignment technology
- Materials and Tools
- Preparation of the basis for work
- Beacon Installation
- Material calculation
- Stucco preparation
- Plastering
- Starting layer
- Rough finish
- Finishing
- The best brands of bathroom plasters
- UNIS "Silin"
- Ceresit CR 65
- "Azolite VSh"
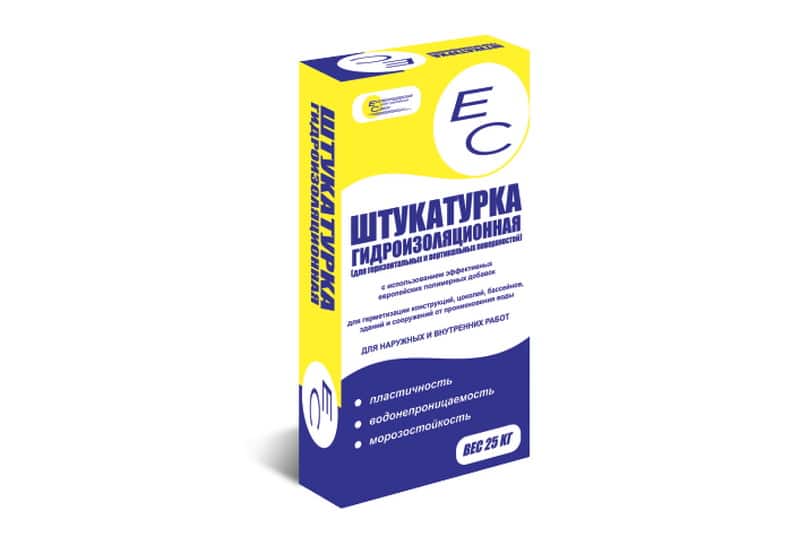
- Waterproofing plaster EU
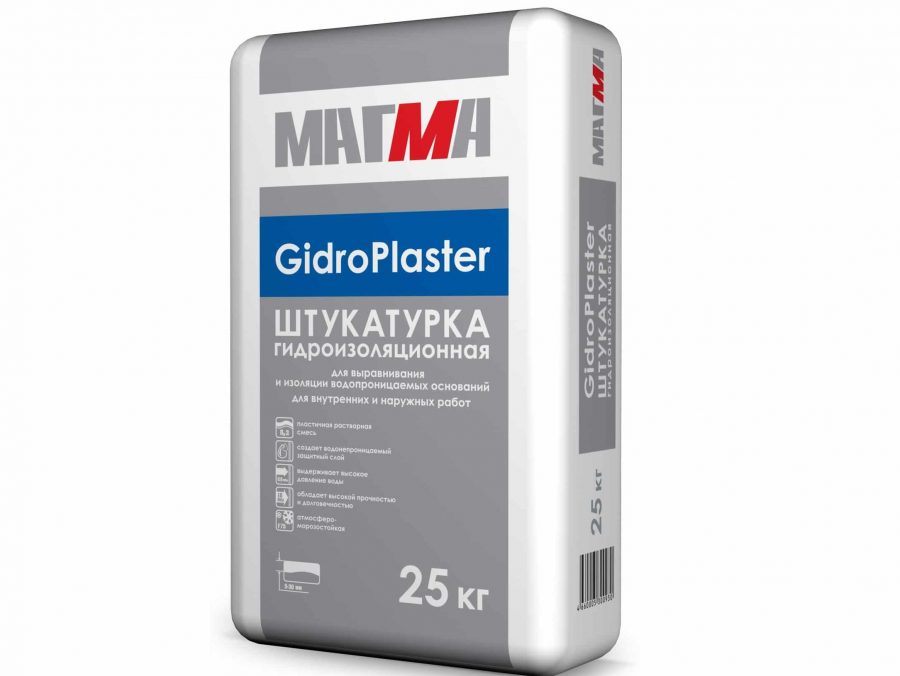
- Magma GidroPlaster
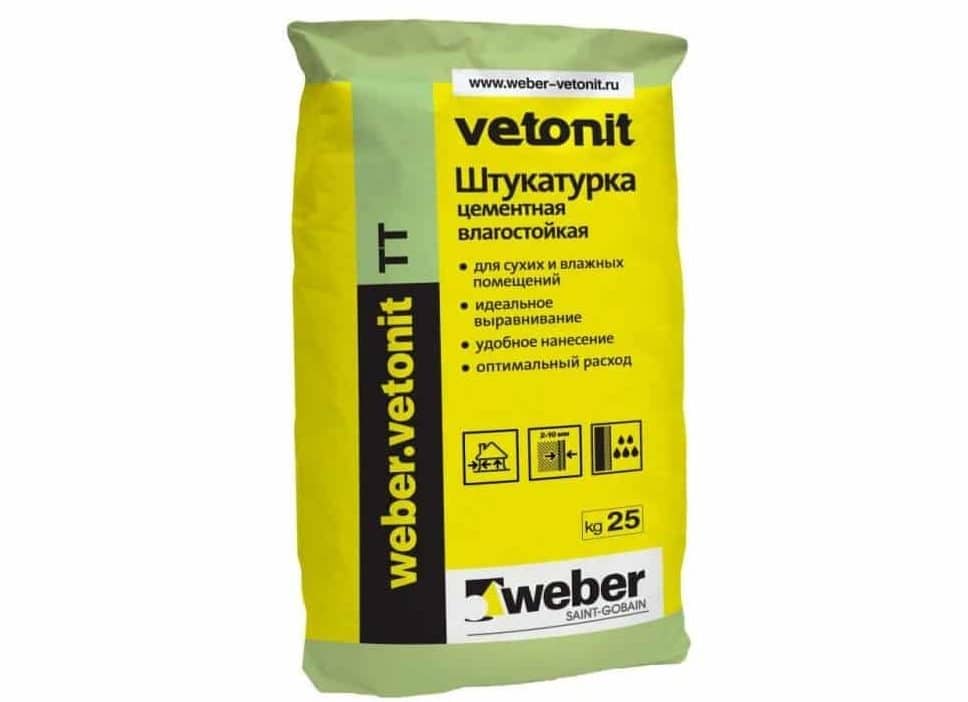
- Weber Vetonit TT
- Profit "Hydrophobic"
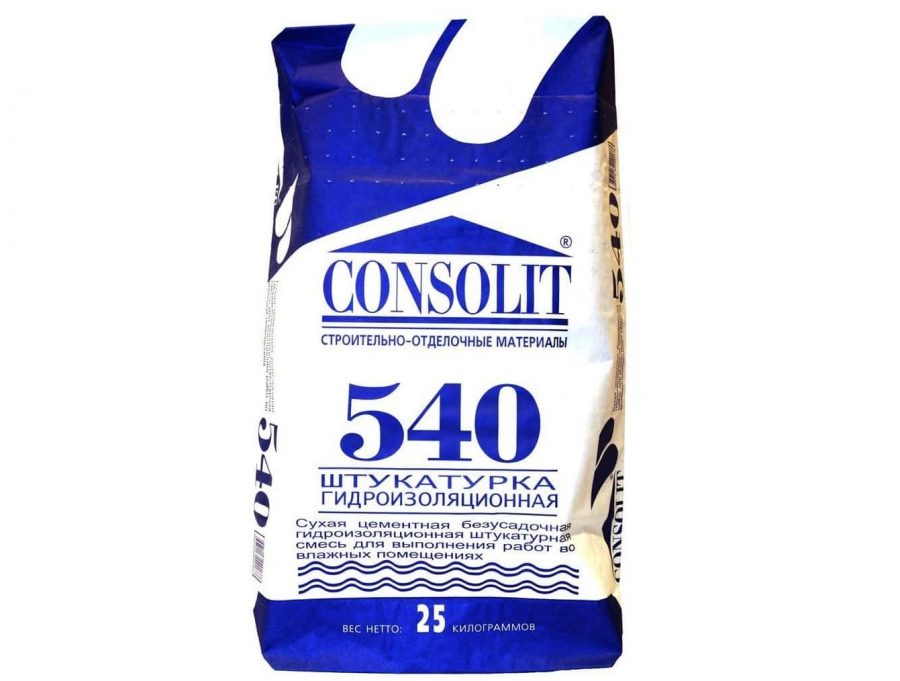
- Consolit 540
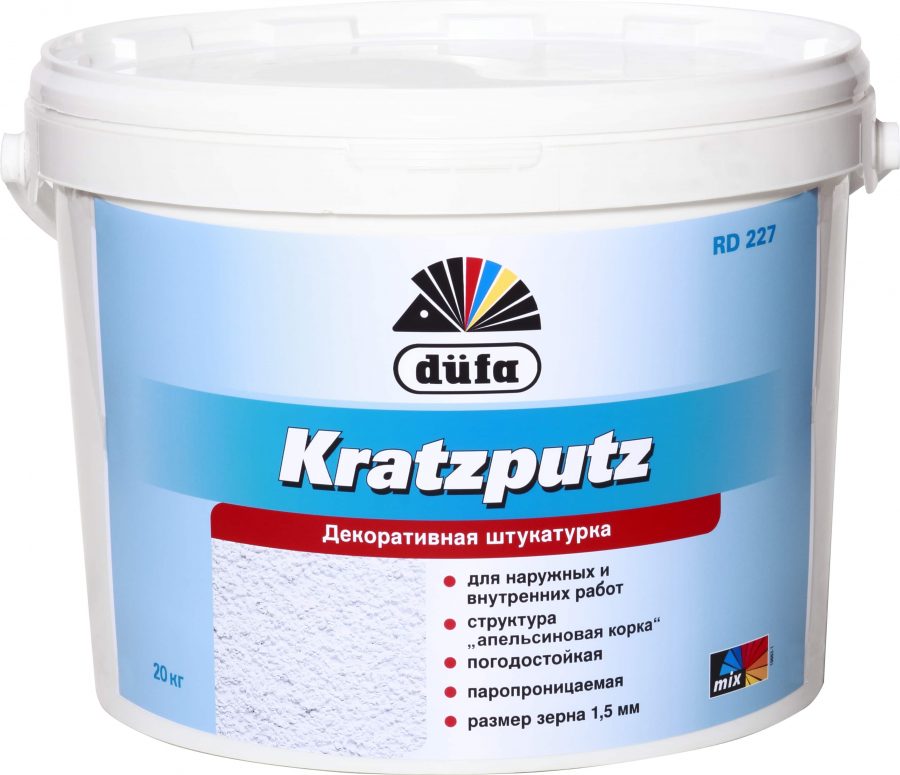
- Dufa kratzputz aussen
- STUC Granito
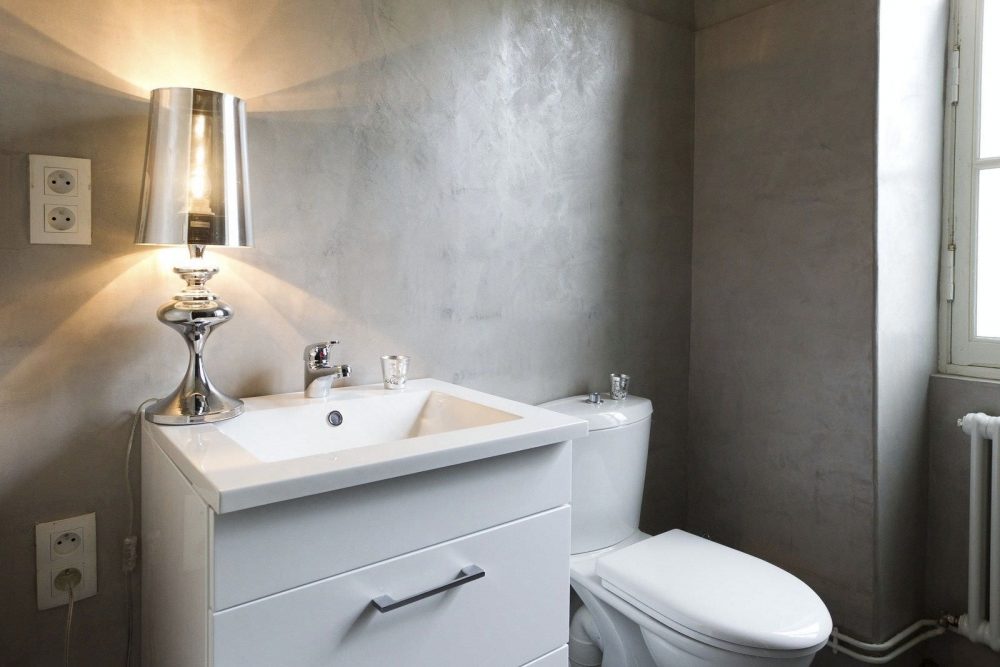
Do I need to plaster the walls in the bathroom
Plastering the walls in the bathroom is an obligatory stage of finishing work, which allows you to fix wall defects, eliminate all bumps. Without plaster it is impossible to level the base, therefore, it is beautiful to lay the finishing materials. If the walls have not found smoothness, they can not be painted, and with the installation of plumbing, hanging furniture can be certain problems. Simply put, the aesthetics and functionality of a room is largely dependent on the quality of the plastering of the walls in the bathroom.
It is a mistake to think that tile glue can cope with surface irregularities if applied in large quantities. The adhesive composition should be applied strictly according to the technology and a rather thin layer - only in this case it will not crack, and the tile will be firmly held on the wall. Plastering can be avoided only if there are sheathed walls, for example, moisture-resistant gypsum board, OSB or plastic panels. In this situation, they are already smooth and do not require a solution.
to contents ↑Plaster Material Requirements
For work only moisture-resistant plaster is applied for a bathroom or other damp rooms. The water resistance index is the most important among the selection criteria of the material, and it should be maximum. It is equally important that the plaster matches the base material, has high adhesion with it. For example, plasters based on coarse-grained sand are more suitable for masonry, and fine-grained sand is used to finish block surfaces.
Other requirements for bathroom plasters:
- increased strength, ability to hold heavy tiles;
- environmental friendliness and harmlessness to humans;
- high density and ease of application;
- elasticity, ability to withstand cracking during shrinkage of walls;
- resistance to mold and mildew;
- long service life;
- not expired.
Types of plasters for the bathroom and their characteristics
Modern manufacturers offer many building mixtures, which vary in composition, properties, and application. Most of them need to be diluted with water, although some, more expensive, are sold in finished form. Depending on the “relationship” with moisture, all types of plaster can be grouped in this way:
- Moisture resistant plasters. They tolerate increased humidity and short-term direct contact with water.
- Hydrophobic plasters. A strong film with a water-repellent effect is formed on the surface.
Cement plaster
Portland cement mixtures are the most inexpensive and popular. Additionally, sand, plasticizers, hydrophobic additives, as well as substances that increase the elasticity of the final product, are introduced into their composition. Moisture resistance of cement plasters with additives at a high level, they are not afraid of temperature changes, are not destroyed by water directly on the walls. High-quality cement plasters boast:
- Affordable price
- lack of harmful components;
- high strength
- durability;
- tolerance of weight and mechanical loads.
Plasters dry rather slowly, but this can be attributed to their advantages, because in one go you can dilute a large portion of the mixture. Thanks to plasticizers, it is easy to apply solutions, they lie comfortably and immediately adhere to the surface.

The disadvantages include shrinkage of materials over time, although it does not reach significant limits and is smoothed out by adding special components. Before facing, you will have to wait until the walls completely dry and the cement hardens, and this period can be several days. The cost of cement plasters with hydrophobic additives is an order of magnitude higher than that of classical compositions (cement + sand), and the latter are not suitable for the bathroom. Before painting, you will have to additionally putty the coating, since it turns out to be rather rough.
to contents ↑Gypsum plaster
Such plasters are able to absorb moisture, so the choice for the bathroom can not be called successful. Their main component is gypsum - a highly crushed, heat-treated mineral or a slightly larger alabaster. To enhance moisture resistance, special modifiers are introduced into the composition of gypsum plasters, and yet they are rarely used in bathrooms.
The only possibility of applying such a material is the presence of a powerful hood in combination with the large dimensions of the room. In a small area with no ventilation, condensation will be present on the walls and the gypsum finish will quickly collapse due to porosity. In addition, several layers of a waterproof primer are applied to the plaster before painting or pasting with tiles to protect the gypsum from moisture.
Among the advantages of gypsum plasters, you can specify:
- high adhesion to walls from any building materials;
- excellent ductility;
- economy of expense, low price;
- the ability to refuse putty before painting due to the evenness of the fraction.
Silicone plaster
Such mixtures are made on the basis of silicone resins, which literally repel water, are not afraid of fungus and mold. Silicone mixtures are applied without much difficulty, even a beginner will cope with them. They do not accumulate dirt, do not deteriorate from temperature changes, the effects of ultraviolet radiation, are extremely durable and can last several decades.

to contents ↑Ready-made silicone mixtures can be tinted, so they often play the role of decorative plasters.The only negative can be called the high price of the compositions and their inability to align large defects, deep cracks. Usually silicone plasters are used as a topcoat.
Sanitizing compounds
Remediation supplies form a separate group and are very different from other plasters. They are designed to drain walls and ceilings in rooms where there is an increased risk of developing fungus, mold, efflorescence. For production, cement and special polymer additives, additives, plasticizers are usually used. As a result, the solution acquires the following abilities:
- creation of a moisture resistant vapor permeable layer;
- water removal from structures;
- providing reliable waterproofing of the decor;
- regulation of the humidity indicator in the room;
- leveling the base;
- preparation for decorative coating.
During the addition of special components, the composition becomes more ductile and durable, but its drying time increases sharply. After rough plastering with sanitizing solutions, at least 7 days must pass before the stage of finishing work.
to contents ↑Facade plaster
In rooms with high humidity, facade (street) plasters can be used to level the walls. Such mixtures have a lot of advantages: they do not spoil from temperature extremes, contact with moisture, because they can withstand even precipitation, sunlight. Most facade mixtures are strong and durable.
to contents ↑The only disadvantage is the coarseness of such materials, which, for the most part, are represented by coarse grinding components. They will not work as a finish, since they do not fit well into the apartment interior. It is also important to clarify the composition of the plaster: some facade mixtures contain additives that do not differ 100% environmental safety.
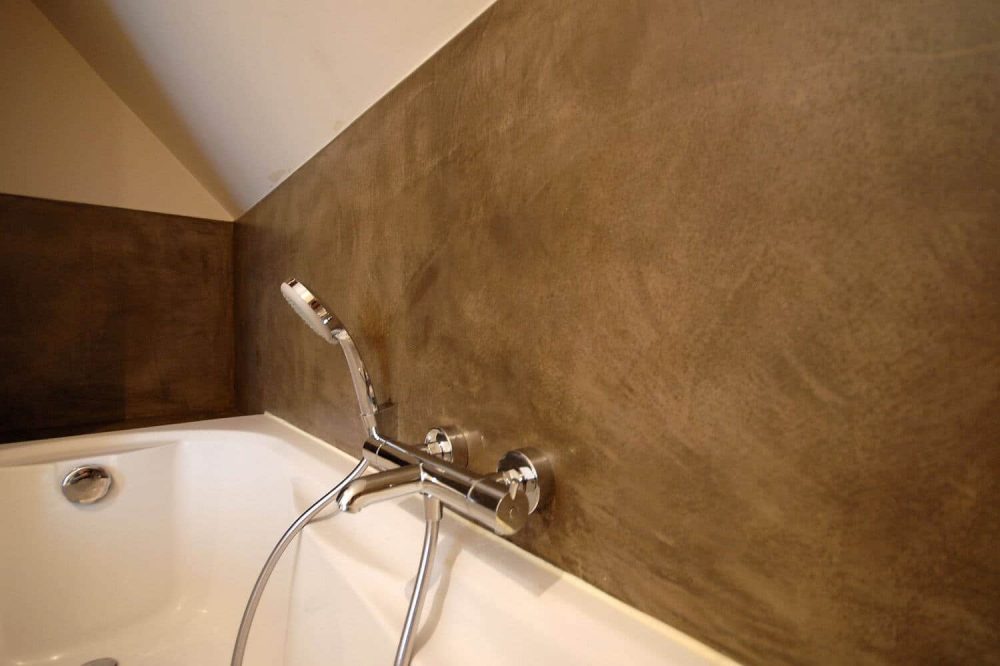
Decorative plasters
The bathroom, decorated with decorative plaster, looks fresh and unbroken. This material allows you to create beautiful texture coatings, as well as hide small defects in the base. Usually, mixtures with water-repellent additives of this type are chosen for finishing the bathroom:
- mineral - based on cement;
- polymer - acrylic or silicone;
- silicate - based on potash glass, the most durable, but expensive;
- pebble - with marble, granite chips.
The better to plaster the walls in the bathroom
When determining the type of material that will be ideally suited to a particular situation, you need to consider the features of the finish walls in the bathroom.
Under the tile
Unlike a paint layer, a tile provides additional waterproofing to walls, reliably protecting them from moisture penetration. When facing walls with tiles, it is possible to use both cement and gypsum compositions, although the latter with a number of reservations. Gypsum, in comparison with cement, has less strength, therefore, with a large weight of ceramics, the plaster layer can simply fall off. If there is a need to use gypsum plaster, it will have to be covered 2-3 times with primers or primers with deep penetration.
In addition, during prolonged use, when the tile joints begin to weaken gradually, the risk of moisture penetrating under the tile increases. Gradually, gypsum plaster begins to crumble. There is another dangerous property of gypsum, which manifests itself in contact with tile adhesive: it can form the mineral substance ettringite. The latter provokes the so-called sulfate corrosion of concrete, as a result of which the wall is badly damaged.
to contents ↑Therefore, it is necessary to make the protective barrier between gypsum plaster and tile more reliable, and cover the seams between the individual elements with high-quality silicone sealant. The only way plaster in the bathroom can be made moisture resistant.In order not to know such problems, it is better to use cement plasters with the addition of polymer components that reduce the risk of cracking.
For painting
Painting the surface requires perfectly smooth walls, because any paint will only emphasize all the pits, chips, bumps, scratches. Of course, gypsum mixtures make it possible to obtain a smoother base, but a thin layer of paint will not protect them from moisture. Even with minor damage, the plaster will begin to crumble and peel off.
If you decide to paint the walls in the bathroom, you need to plaster them with reliable cement mixes. Strength and moisture resistance of cement allows you to make repairs of high quality and durable. After applying the draft layer, finishing is required to be putty with finely dispersed compositions, which are subsequently sanded to smoothness. In the presence of free cash for work, you can use any polymer plasters that have all the necessary properties.
to contents ↑Waterproofing Compounds
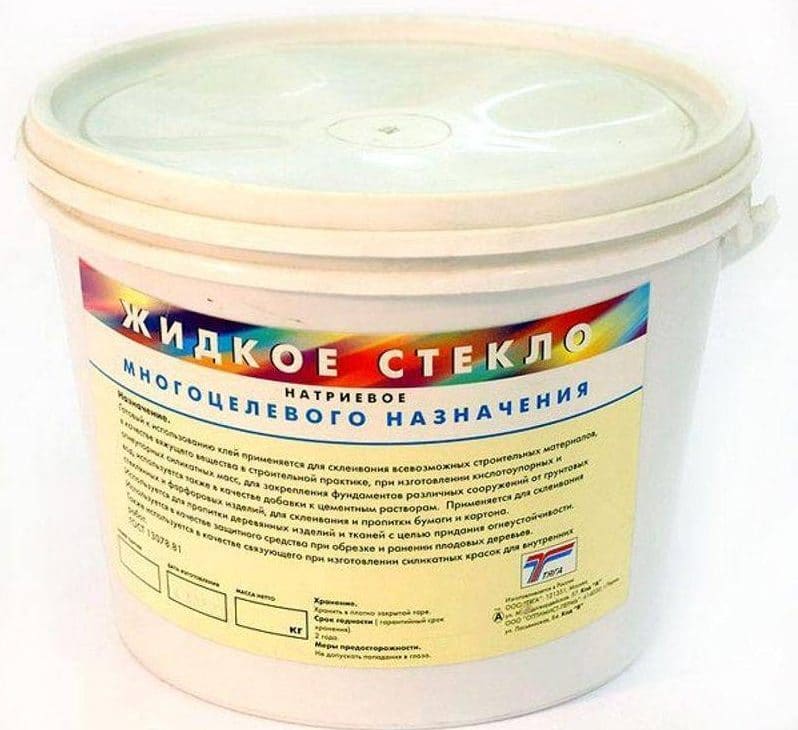
Some building mixtures additionally include special substances - water repellents, which help to achieve complete waterproof coating. Typically, such are liquid glass, latex, asphalt - these components are introduced into the plaster in small quantities. Such compositions are especially recommended for application on gypsum tongue-and-groove plates, from which partitions in bathrooms are often created.
Stucco wall alignment technology
If desired, all work can be done with your own hands. The principle of operation will be similar to the decoration of walls in ordinary rooms with a slight difference in the nuances.
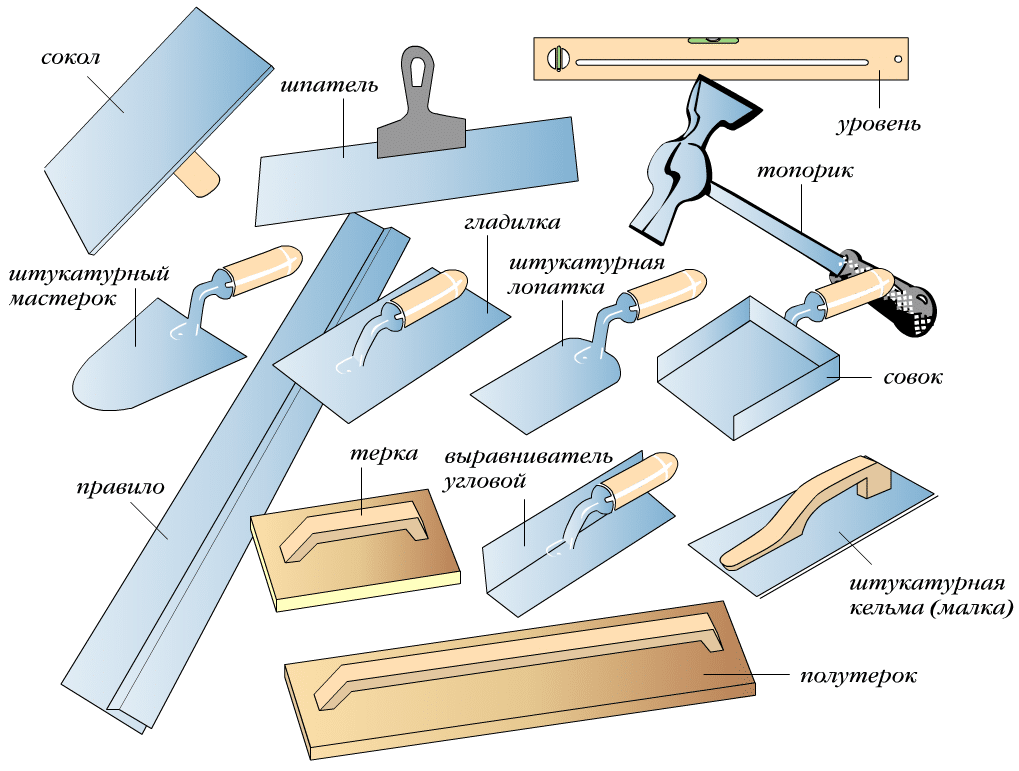
Materials and Tools
For work, you should pre-prepare tools, materials and consumables:
- plaster mix;
- water
- a container for diluting the solution;
- primer;
- roller, brush for priming;
- primer tray;
- construction mixer or drill with nozzle;
- grinder;
- bucket for mortar or trowels;
- rule
- level;
- chisel;
- spatulas of different sizes;
- grater for mashing and grinding;
- ready beacons.
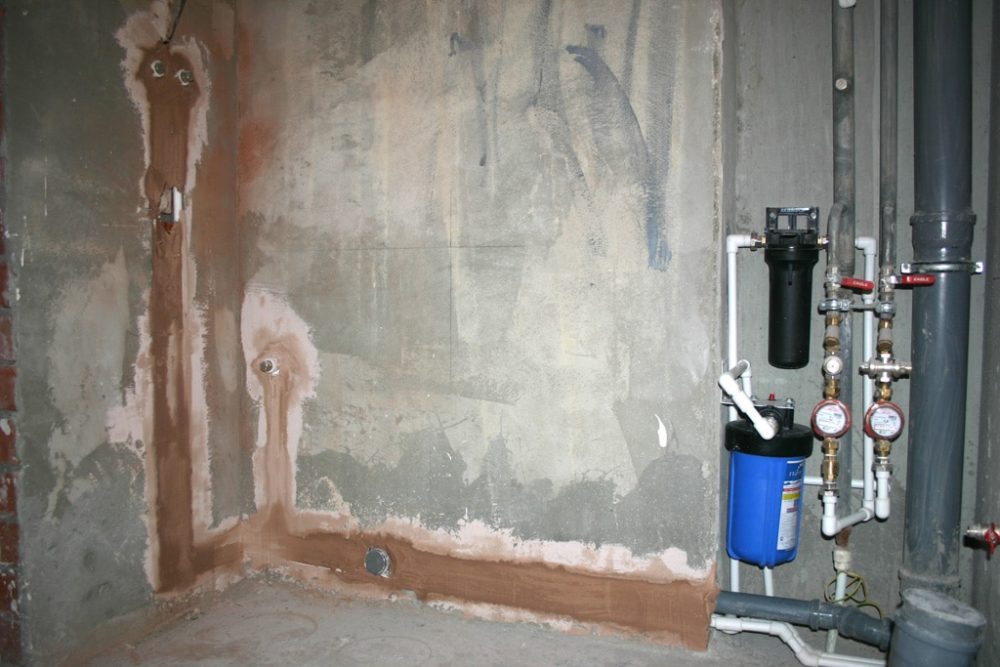
Preparation of the basis for work
First you need to determine whether to remove the old coating, or it can be left on the wall. If the wall covering in the bathroom is paint or whitewash, it will definitely have to be removed due to poor adhesion to the plaster. Paint is removed with a grinder or a hard metal brush (if the power tool is not available). Lime is washed off with water, the wall is thoroughly dried.
Loose, crumbling surfaces also clean old plaster. Remove any areas with traces of oil, bitumen, fungus, mold (the latter must be additionally treated with special compounds). They clean the damaged areas up to the concrete base, for which a grinder is also suitable. Stains from concrete can be wiped away with solvent.
Dense, intact cement or polymer plaster is not removed. It is tapped with a hammer to make sure that it is securely fastened. When identifying areas with a dull sound, the material is still stripped off, since there are voids under it. Cracks are expanded, dedusted, and repaired with a standard cement mortar (1 part cement and 3 parts sand). Liquid epoxy is also suitable for reliably sealing cracks and is injected inward. When coating large cracks, reinforcing fiberglass tapes are used. Even more voluminous defects are first laid with a broken brick, which is fixed with a solution.
New concrete walls are quite smooth, so before applying plaster on them make small notches with a chisel (2-3 mm deep, about 200-300 pieces per 1 sq. M of wall). In the new brickwork, the seams are slightly deepened with any sharp object. After the preparatory phase, the base is completely treated with a primer for 2-3 layers with complete intermediate drying.
to contents ↑Beacon Installation
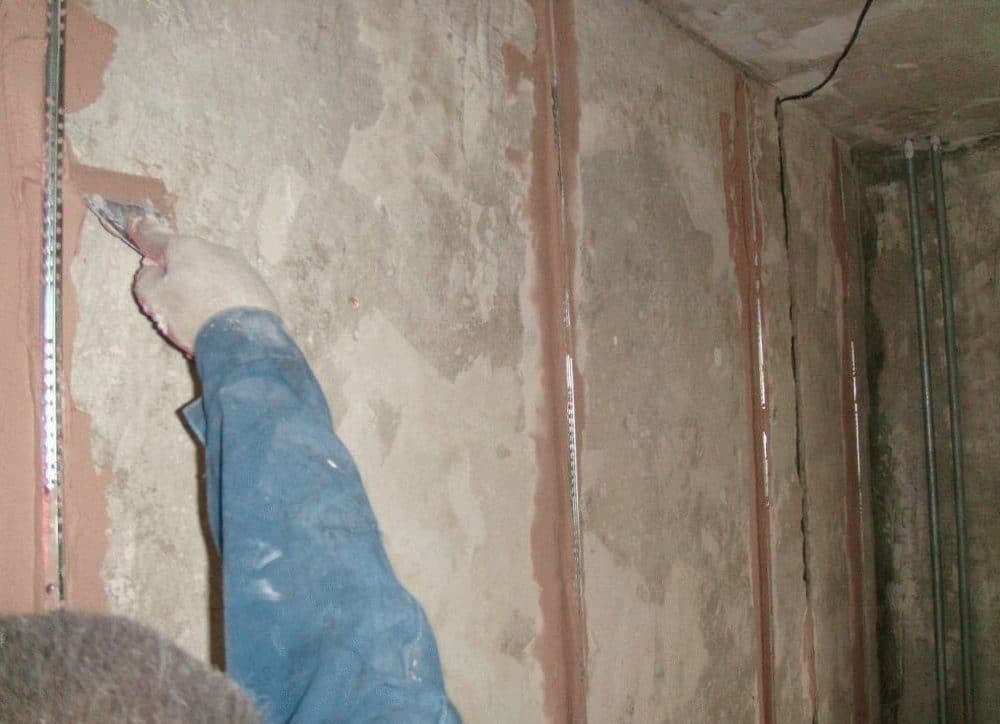
With a small area of the bathroom and the absence of serious differences, beacons can be omitted. If the curvature of the walls is significant, as is their area, then the fastening of the guides is an obligatory stage of work. Profiles are fixed on the repair mortar, accurately measuring their position level. First, lighthouses are fixed on the sides, then along the entire wall at a distance approximately equal to the length of the rule.
Material calculation
To calculate the amount of plaster it is important to know the thickness of the layer. To calculate this value, height differences are measured in a vertical plane at several points using a rule or level. The resulting numbers are summarized, divided by the number of points. The result is the average thickness of the future layer of plaster.
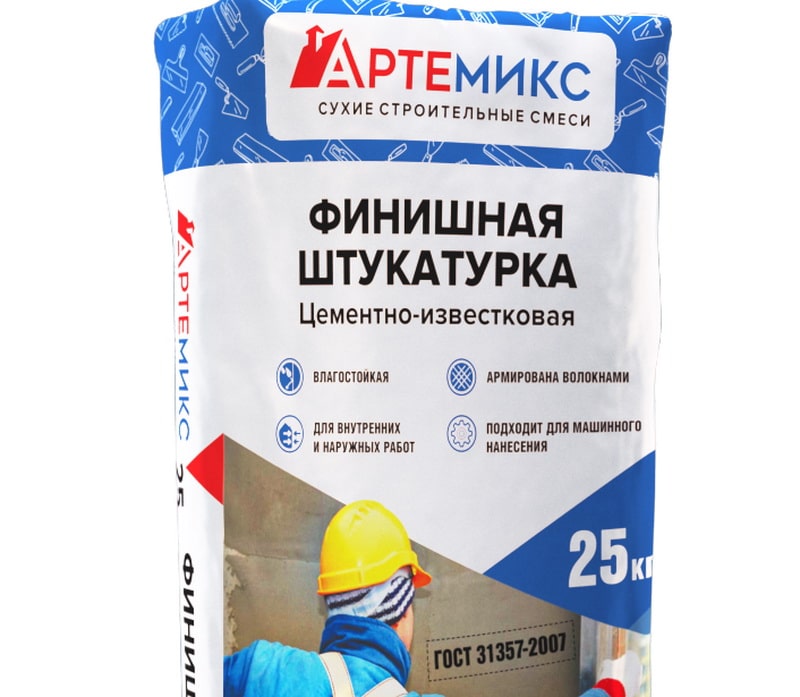
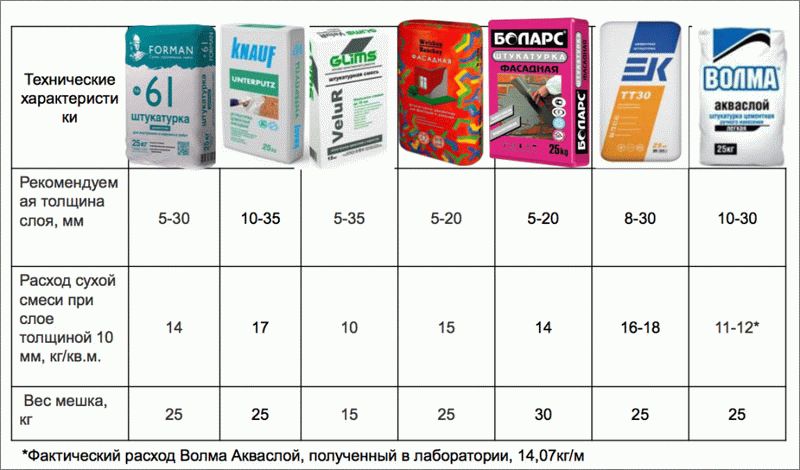
On the packaging of the selected building mixture, the average consumption in kilograms per square meter at a certain layer thickness is found (usually the manufacturer gives norms at a thickness of 10 mm). Multiply the calculated plaster layer by this indicator and the total area of the walls in the bathroom in square meters. The final figure (in kg) is divided by the size of the packing (usually 25-30 kg) and get the number of bags of plaster that you need to buy. Be sure to adjust the figure for the safety factor (1.1) so as not to go to the store when the solution is overused.
Stucco preparation
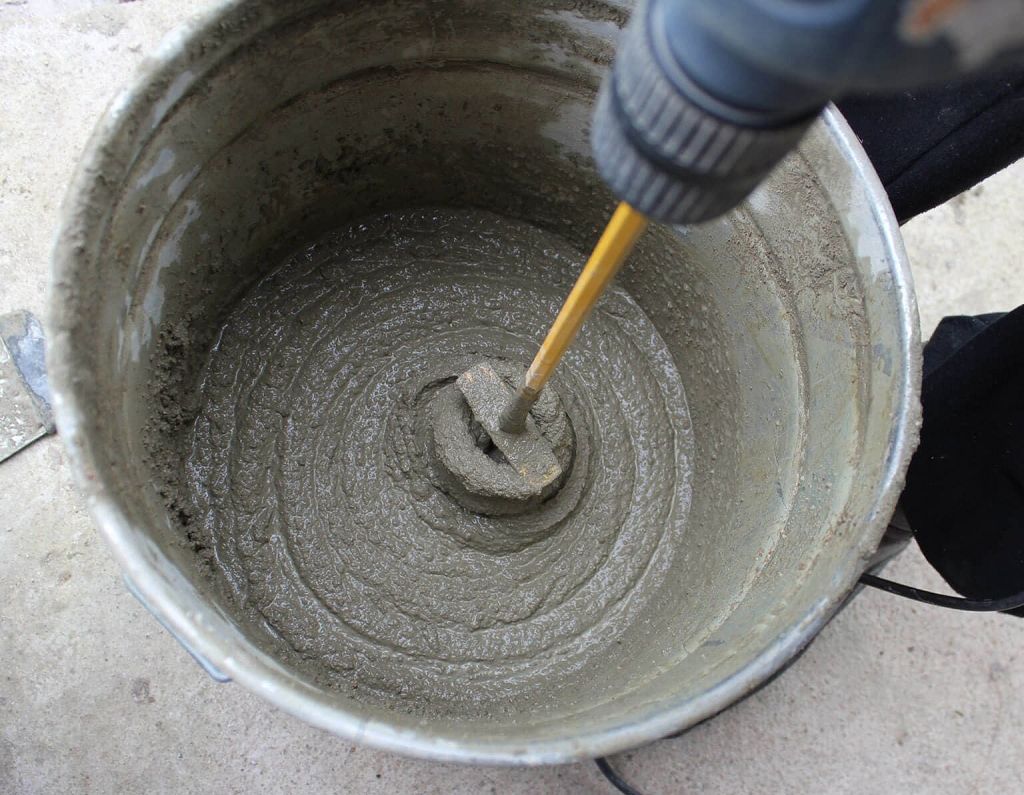
The building mixture is bred strictly according to the instructions, which are always on the package. A sufficient amount of cool water is poured into a clean container, and the plaster is added in portions. With a construction mixer, the solution is kneaded at low speeds until it acquires a uniform structure. The result should be a stucco with a consistency of thick sour cream.
The composition is left to stand for 5 minutes, then mixed again. Use it for 40-60 minutes, until the mass begins to solidify, so for one time a not too large portion is bred. If the plaster is prepared independently, then for the first layer (spray) make the solution a little more liquid, and for the subsequent layers thick.
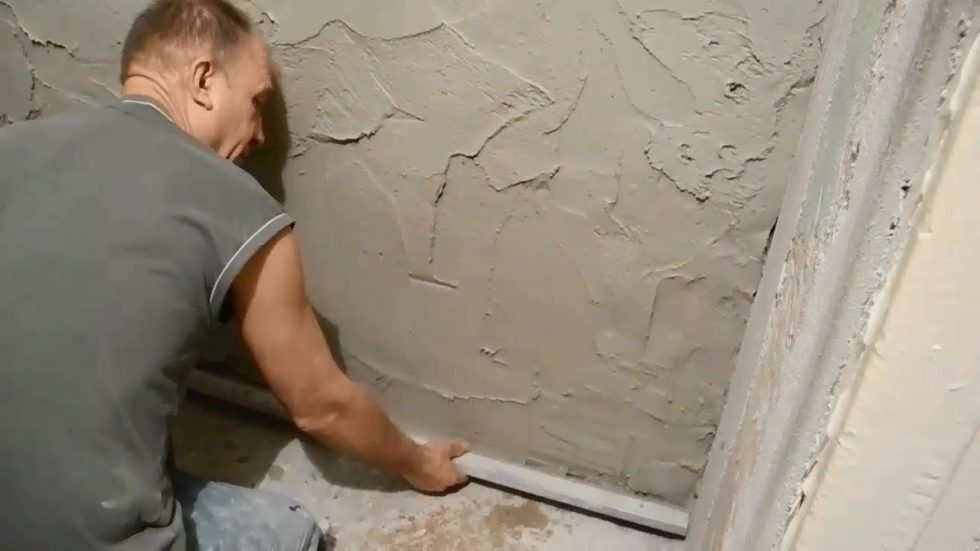
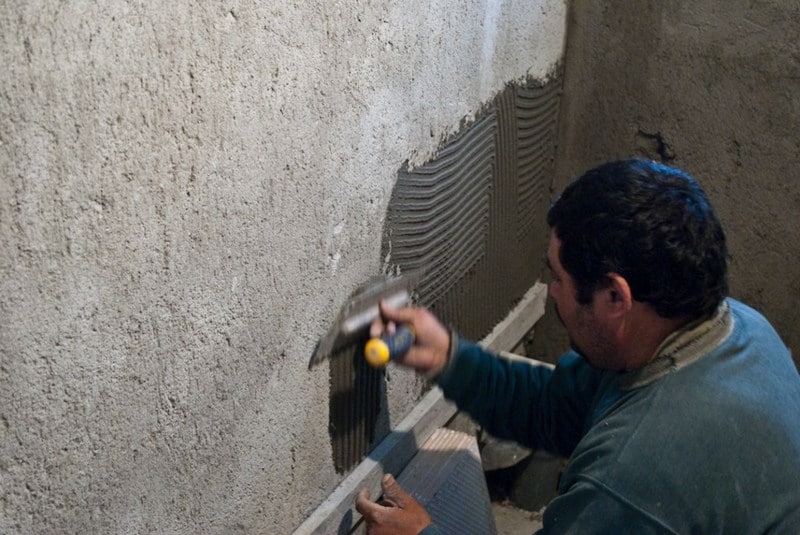
Plastering
The solution can be applied automatically and manually. In the first case, expensive equipment is required, therefore, in the independent decoration of the bathroom this method is rarely used. Usually, manual application is used, which, when following the technology, also gives an excellent result.
Starting layer
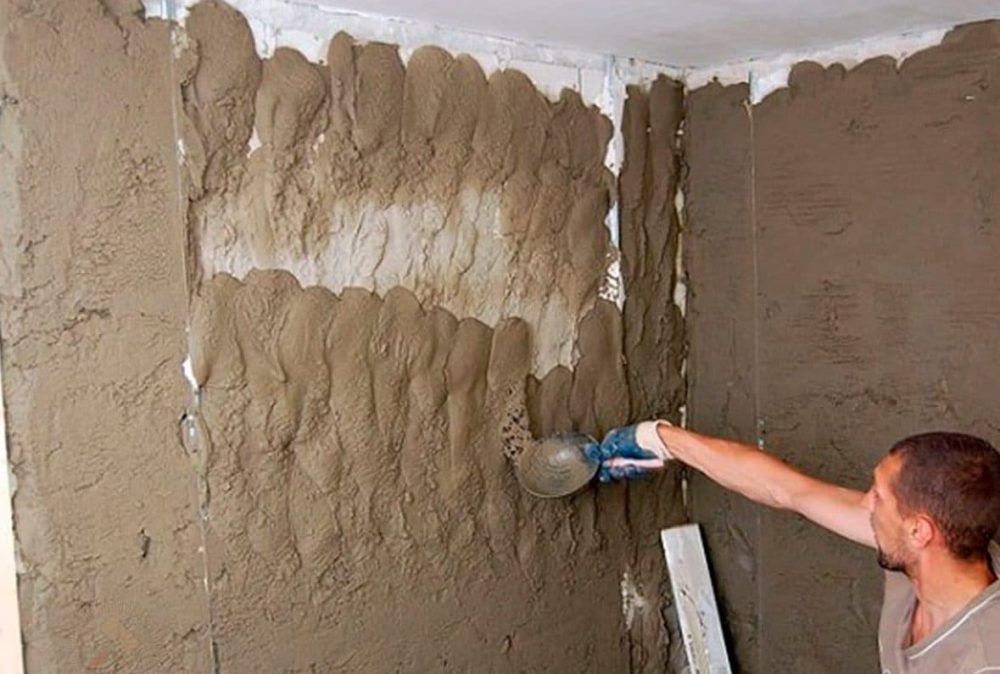
The construction base is slightly moistened with water. The solution is collected on a trowel, it is thrown on the wall with a continuous layer of not more than 5–9 mm. Throws are carried out with force so that the plaster immediately mates with the base. The plaster is slightly leveled with a spatula, but without much effort. Leave for 2-3 hours to set.
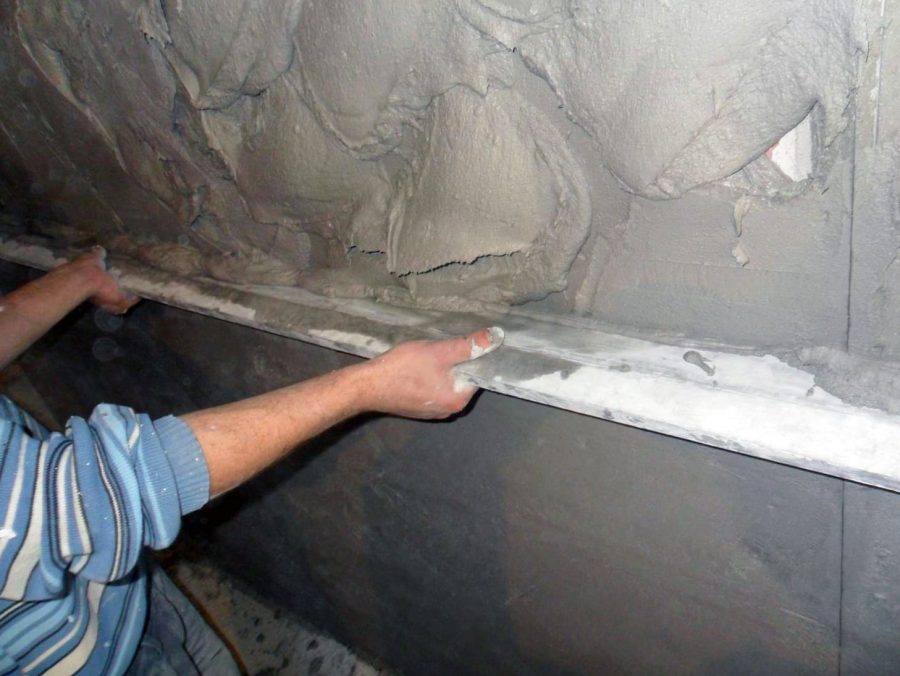
Rough finish
For the second layer, the plaster is applied to the wall with a spatula or trowel with a layer of 5 mm, a rule is applied to the base, they are led between the beacons to level the solution. The tool should move upward, leaving behind an even layer that does not extend beyond the beacons. Excess composition is immediately removed with a spatula. Go from site to site until they cover the entire area of the wall. After setting the plaster, beacons are removed, the recesses are sealed with a solution, such areas are well leveled with a grater or putty knife.
Finishing
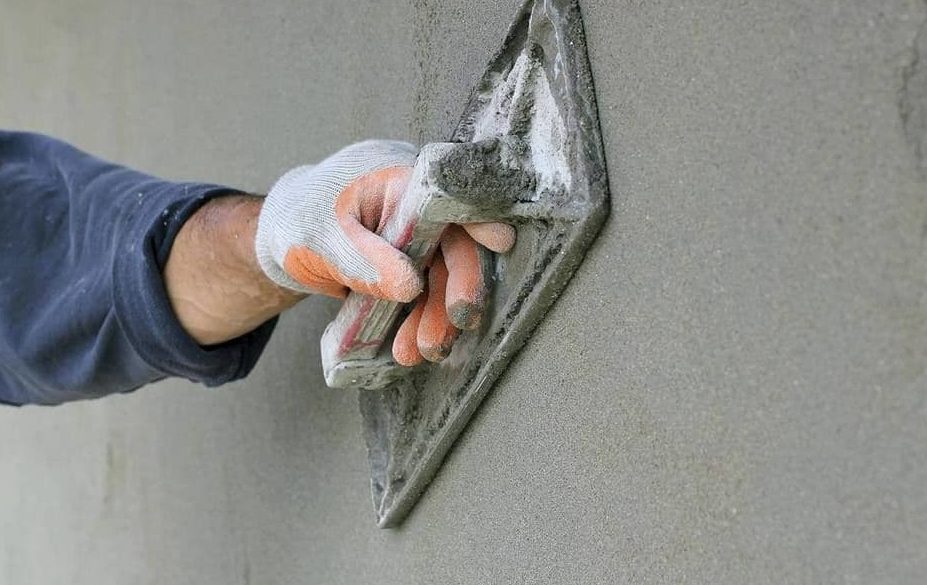
After hardening, but until the final drying of the draft layer proceed to the finish. If the plaster has dried too much, it is moistened with water with a brush.The last layer is imposed with a wide spatula, placing it at an angle of 15–20 degrees and conducting smooth, long vertical movements from bottom to top. Around the pipes use a narrow spatula, in the corners of the corner. Excess composition from the edges of the strips immediately cleaned with a spatula blade. The layer thickness should not exceed 2-3 mm.
After applying the plaster, wait until it is partially cured and process the entire surface of the walls in the bathroom with a building grater. Mashing is done in a circular motion counterclockwise. In areas with bulges, the grater is pressed a little harder against the wall to smooth out the defects. They allow the wall to dry completely and apply a primer (if painting is planned), and then carry out a full finish.
The best brands of bathroom plasters
Waterproof plaster for the bathroom is sold in any hardware store, it is in the range of products of most manufacturers. Below are the most popular products characterized by excellent quality.
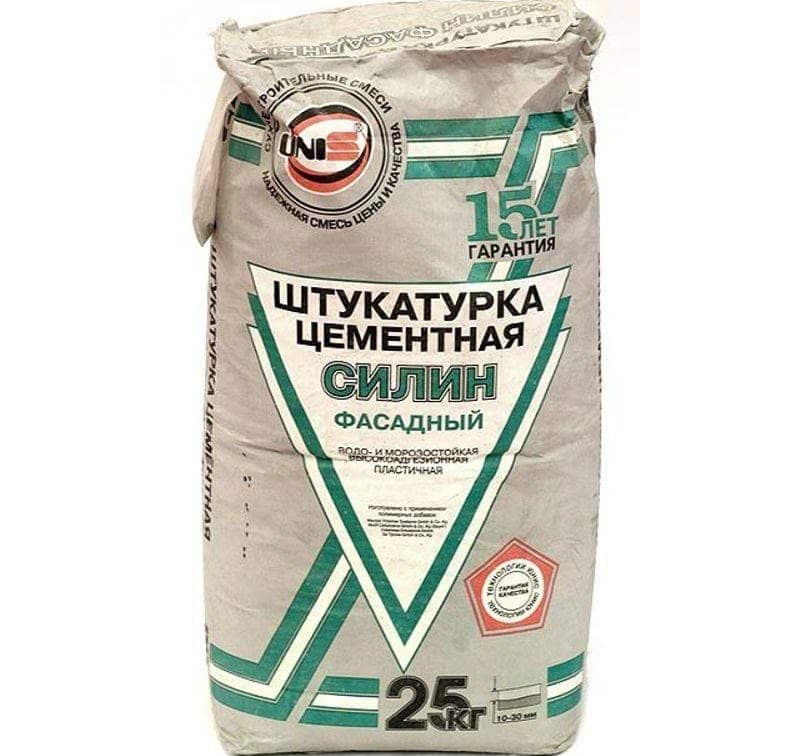
UNIS "Silin"
The UNIS Silin cement-based mixture is used to decorate the bathroom due to the absence of shrinkage and excellent moisture resistance. It is so durable that it does not require wall reinforcement. The thickness of the leveling layer can reach 5–30 mm; the time of final drying before finishing is 5 days.
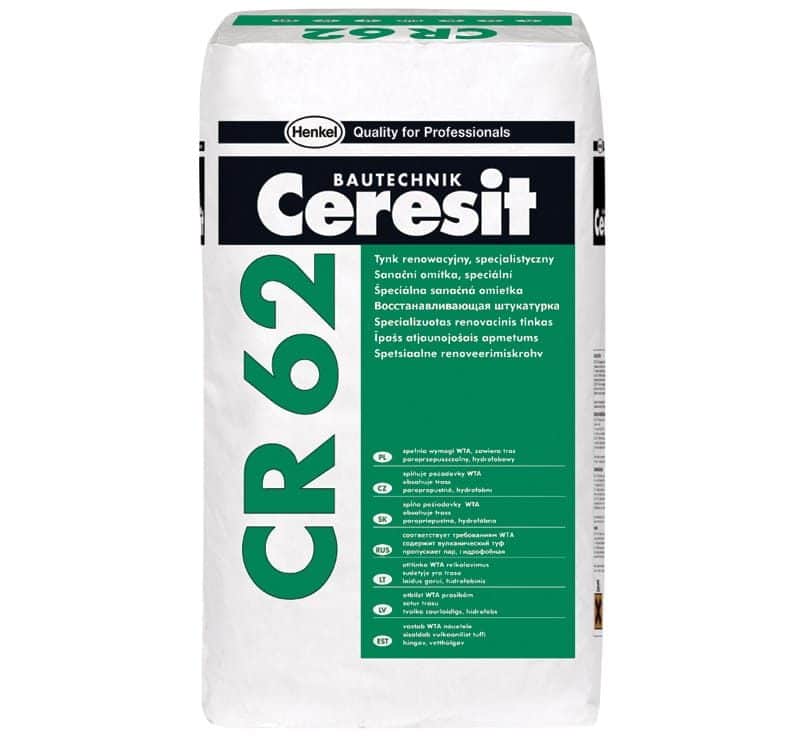
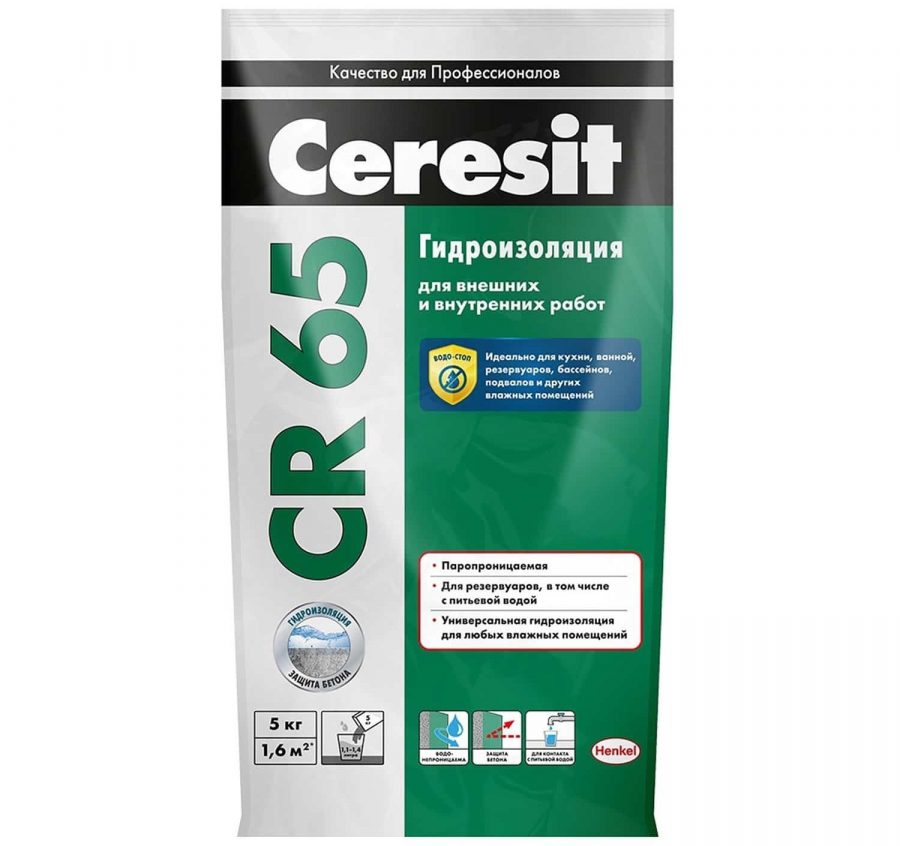
Ceresit CR 65
Plaster of the Ceresit brand is resistant to salts, alkalis, vapor permeability, abrasion resistance and long service life. It is suitable for any basement, due to its excellent moisture resistance it is often used in bathrooms.
"Azolite VSh"
Moisture-resistant cement plaster "Azolit-VSh" is characterized by high ductility, wear resistance, it is suitable for finishing various surfaces: concrete, brick, cement-bonded particleboards. The solution sets in 3 hours already, gains strength in 3 days. Permissible layer thickness is not more than 20 mm.

Waterproofing plaster EU
The plaster is based on mineral components, suitable for application on concrete, brickwork. It has a high level of water resistance, does not shrink, dries in 3 days, and at the same time reliably sets in a day.
Magma GidroPlaster
Universal plaster with high rates of ductility, elasticity, moisture resistance and wear resistance. It includes cement, modifiers that increase strength and simplify application.
Weber Vetonit TT
Cement-sand plaster with a small fraction of lime. It is convenient in work, strong, high moisture resistant. It dries in just 1-2 days, has a low consumption.
Profit "Hydrophobic"
Plastic plaster with excellent water repellent properties. Forms a durable coating that does not shrink. The minimum layer thickness is 8 mm.

Consolit 540
Cement-based plaster with the addition of plasticizers, modifiers. It is not afraid of moisture, temperature changes, characterized by shrinkage, high elasticity, excellent adhesion to most building materials. It can be applied in a layer of 5-30 mm, set in 3 hours.
Dufa kratzputz aussen
Polymer-based decorative plaster to give an orange peel coating. It is applied to external and internal works, it is vapor-permeable, resistant to friction, mechanical damage.Easy to apply, not afraid of water, precipitation, gaining strength in 2-3 days.
STUC Granito
Marble-coated decorative plaster. It consists of microcement and stone chips, characterized by moisture resistance, wear resistance, vapor permeability.
Plastering the walls in the bathroom due to the small area and ease of operation can be done with your own hands. The main thing is to choose a really suitable plaster, and then the finished finish will serve for many years without complaints.

